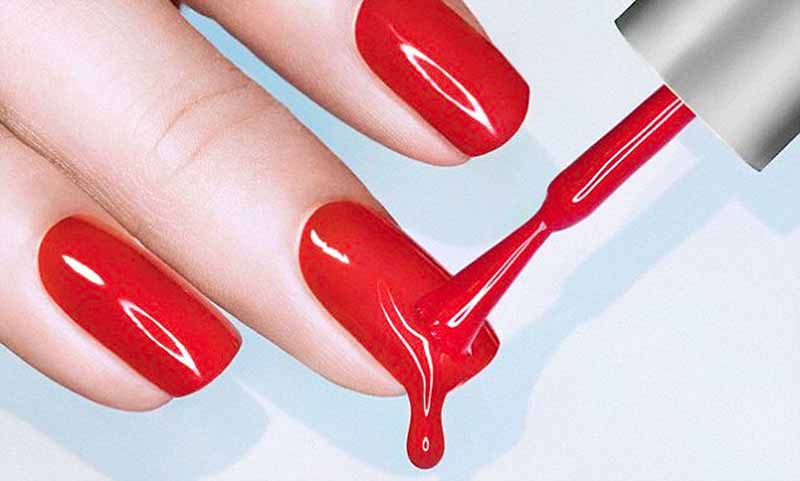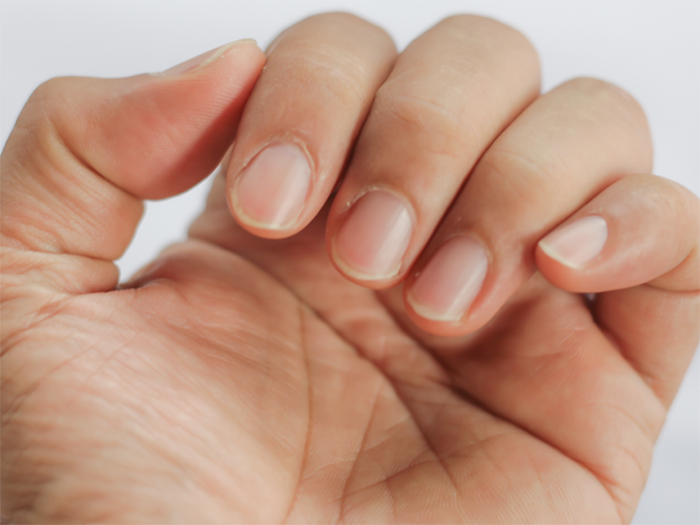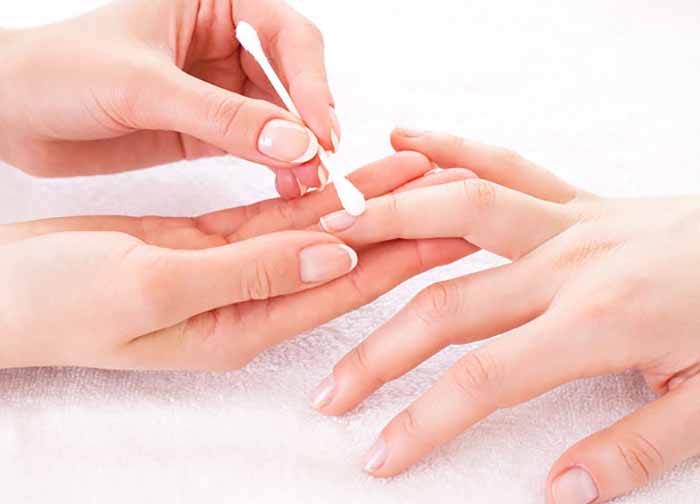
A resin manicure—whether you use a gel, builder gel, or resin-based enhancement system—can look flawless on the surface. But the result depends far more on what happens before the first layer of product is applied than on the product itself. Nail preparation is the foundation. It removes the barriers that prevent adhesion, protects the natural nail, and creates the clean, dry, slightly textured surface that resin needs to bond properly.
If preparation is rushed or done incorrectly, even the most expensive resin system will lift, chip, or peel. If it is done well, the manicure can last for weeks and keep the natural nail healthy underneath.
What Is Nail Preparation?
Nail preparation is the complete process of assessing, cleaning, shaping, and conditioning the natural nail before any enhancement is applied. It is not just “pushing the cuticles back.” It includes removing old product, shaping the free edge, clearing dead cuticle tissue from the nail plate, lightly texturing the surface, removing dust, dehydrating the nail, and applying primer if needed.
The goal is simple: create a clean, dry, oil-free surface with a slight texture so that the resin base can grip the nail plate securely. Every step serves that goal.
Tools and Materials You Need
You do not need a full salon setup, but the right tools make preparation safer and more effective.
- Nail file, 180–240 grit, for shaping natural nails. A glass file is gentle and durable.
- Buffer block, fine grit, for lightly removing shine.
- Cuticle pusher, wooden or rubber-tipped, for gently pushing back the cuticle.
- Cuticle nippers, sharp and clean, for trimming only loose, dead skin.
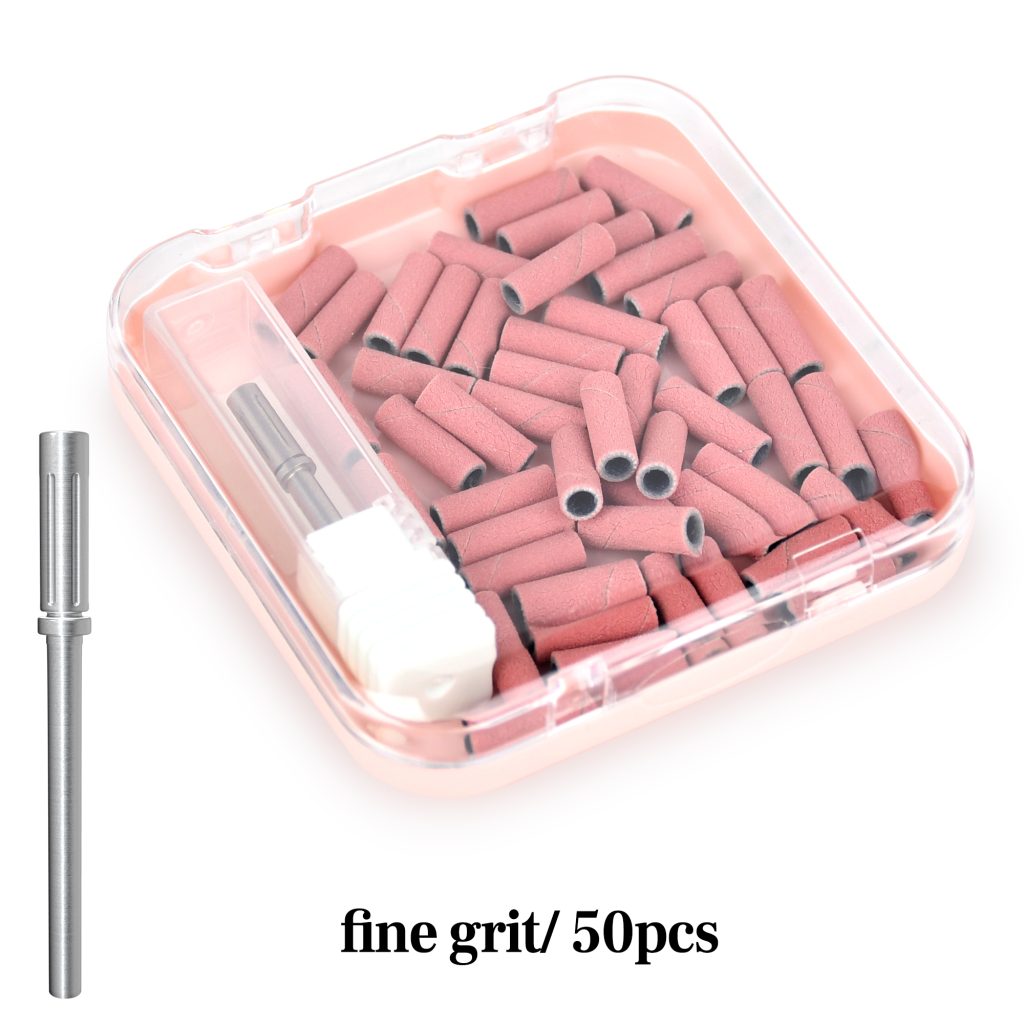
- Mini sanding bands on an e-file, fine grit, for precision cuticle-area cleaning if you are trained to use them. They are optional but useful for detail work.
- Dust brush, for removing filing dust.
- Lint-free wipes, for applying cleanser and dehydrator.
- Nail dehydrator or 91% isopropyl alcohol, for removing oils and moisture.
- Primer, if your resin system requires it or if the client has oily nails.
- Sanitizer and disinfectant, for hands and tools.
- Cuticle oil and hand cream, for aftercare, not before application.
Avoid coarse files, metal pushers that can gouge the nail, and dirty tools. Preparation should be gentle.
Why Preparation Matters Before a Resin Manicure?
Resin products bond to keratin, the protein in the nail plate. They do not bond to oil, moisture, dust, or dead skin. The natural nail carries a thin layer of sebum, invisible cuticle tissue, and microscopic dust. If these are not removed, the resin sits on top of a barrier instead of attaching to the nail.
Poor preparation leads to lifting at the cuticle or sidewalls, water seeping underneath, and premature peeling. It also increases the risk of infection if dead tissue or moisture is trapped under the enhancement. Good preparation eliminates these problems before they start. It is the single most important factor in long wear.
Step-by-Step Nail Preparation
Step 1: Assess the nails. Look for lifting, cracks, redness, swelling, or signs of infection. Check whether the nails are oily, dry, ridged, or damaged. If there is an infection or open sore, do not apply resin. Refer the client to a doctor.
Step 2: Remove old product. Remove old polish gently. For gel or resin, use the proper soak-off or filing method. Never peel or scrape. Peeling strips layers off the natural nail.
Step 3: Sanitize hands and tools. Wash your hands and the client’s hands with soap and water. Disinfect metal tools. Use disposable files, buffers, and wooden sticks where possible.
Step 4: Shape the free edge. Use a 180–240 grit file to shape the nail. File in one direction only—from the outer edge toward the centre. Sawing back and forth creates micro-tears that lead to peeling. Choose a shape that suits the hand and lifestyle.
Step 5: Push back the cuticles. Soak the fingertips briefly in warm water or apply a cuticle softener. Gently push the cuticle back with a wooden or rubber-tipped pusher. Do not cut living cuticle. It is a protective seal. Only trim loose, dead skin with sharp nippers.
Step 6: Clean the nail plate. Use a cuticle pusher or a fine-grit mini sanding band to gently remove dead cuticle tissue from the nail plate. Work from the sidewall toward the centre. Do not file living skin. If you use an e-file, keep the speed low and the band moving.
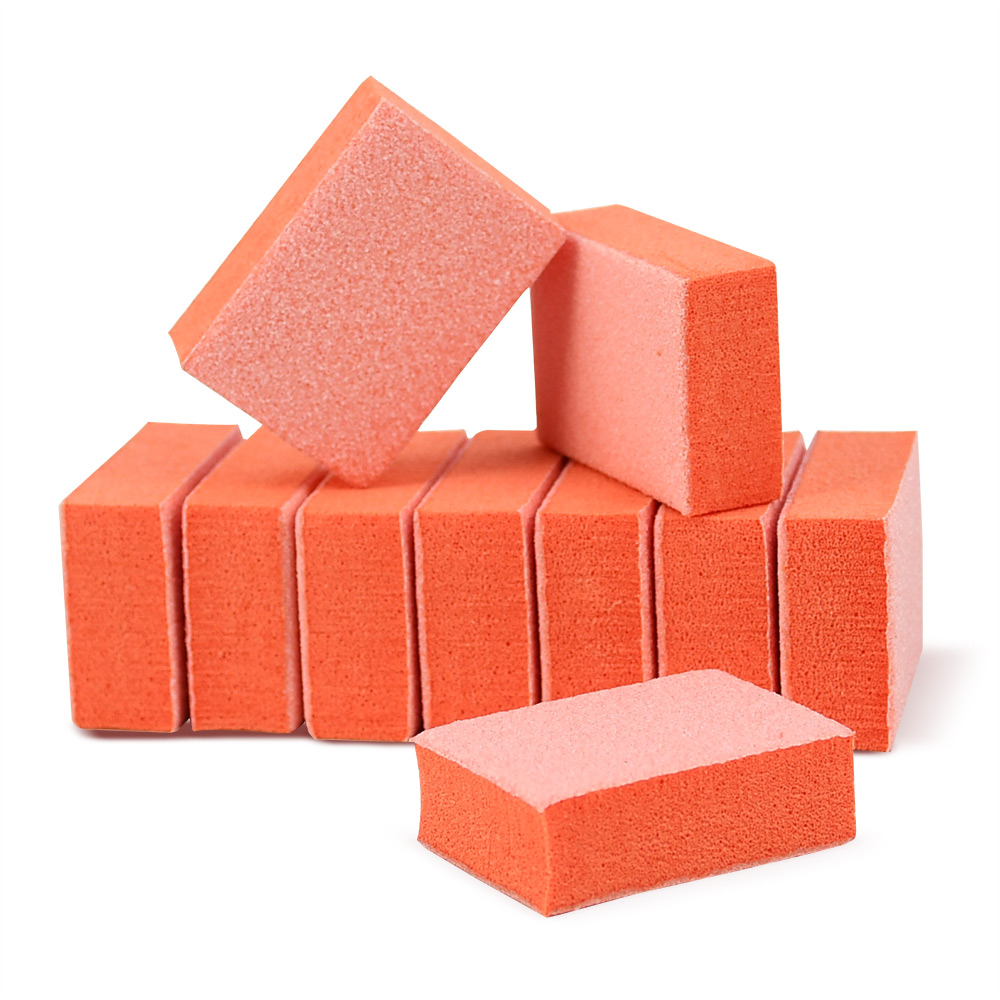
Step 7: Lightly buff the surface. Use a fine nail buffer to remove the natural shine. Two or three light passes are enough. You are creating texture, not thinning the nail. Over-buffing weakens the plate and causes sensitivity.
Step 8: Remove all dust. Brush away filing dust with a soft brush. Dust left on the nail creates bumps and prevents adhesion.
Step 9: Dehydrate the nail. Wipe each nail with a nail dehydrator or 91% isopropyl alcohol on a lint-free wipe. Do this twice. After this step, do not touch the nail plate with bare fingers. Natural oils transfer instantly and ruin adhesion.
Step 10: Apply primer if needed. For oily nail beds or if the resin system requires it, apply a thin layer of primer. Let it dry according to the manufacturer’s instructions.
Step 11: Apply the resin base immediately. Do not wait. Proceed directly to the base coat or resin application. The longer the prepared nail sits exposed, the more likely oils will return to the surface.
What Happens When Preparation Is Poor?
Poor preparation has predictable consequences.
Lifting and peeling. Oils, dust, or cuticle residue prevent the resin from bonding. The product lifts at the edges within days.
Short wear time. A manicure that should last three weeks may fail in three days.
Water trapped underneath. Lifted edges allow water and bacteria to enter. This can cause discoloration, infection, and nail damage.
Allergic reactions. Uncured resin on the skin, often caused by poor application after poor prep, can trigger allergic reactions. Once an acrylate allergy develops, it is often permanent.
Natural nail damage. Over-buffing, aggressive filing, or improper removal thins the nail plate and leaves it weak and sensitive.
Uneven appearance. Dust and ridges show through the resin. The final surface looks bumpy and unprofessional.
Final Thoughts
Nail preparation is not a preliminary step to rush through. It is the foundation of a safe, long-lasting resin manicure. Assess the nails, remove old product, shape gently, push the cuticles without cutting living tissue, clean the plate, buff lightly, remove all dust, dehydrate thoroughly, and apply primer only if needed. Then proceed immediately to the resin. When preparation is done correctly, the resin bonds securely, the manicure lasts, and the natural nail stays healthy. When it is skipped, everything that follows is compromised.
Read also: Semi-Permanent Nail Polish: Limitations, Side Effects, and Safe Aftercare